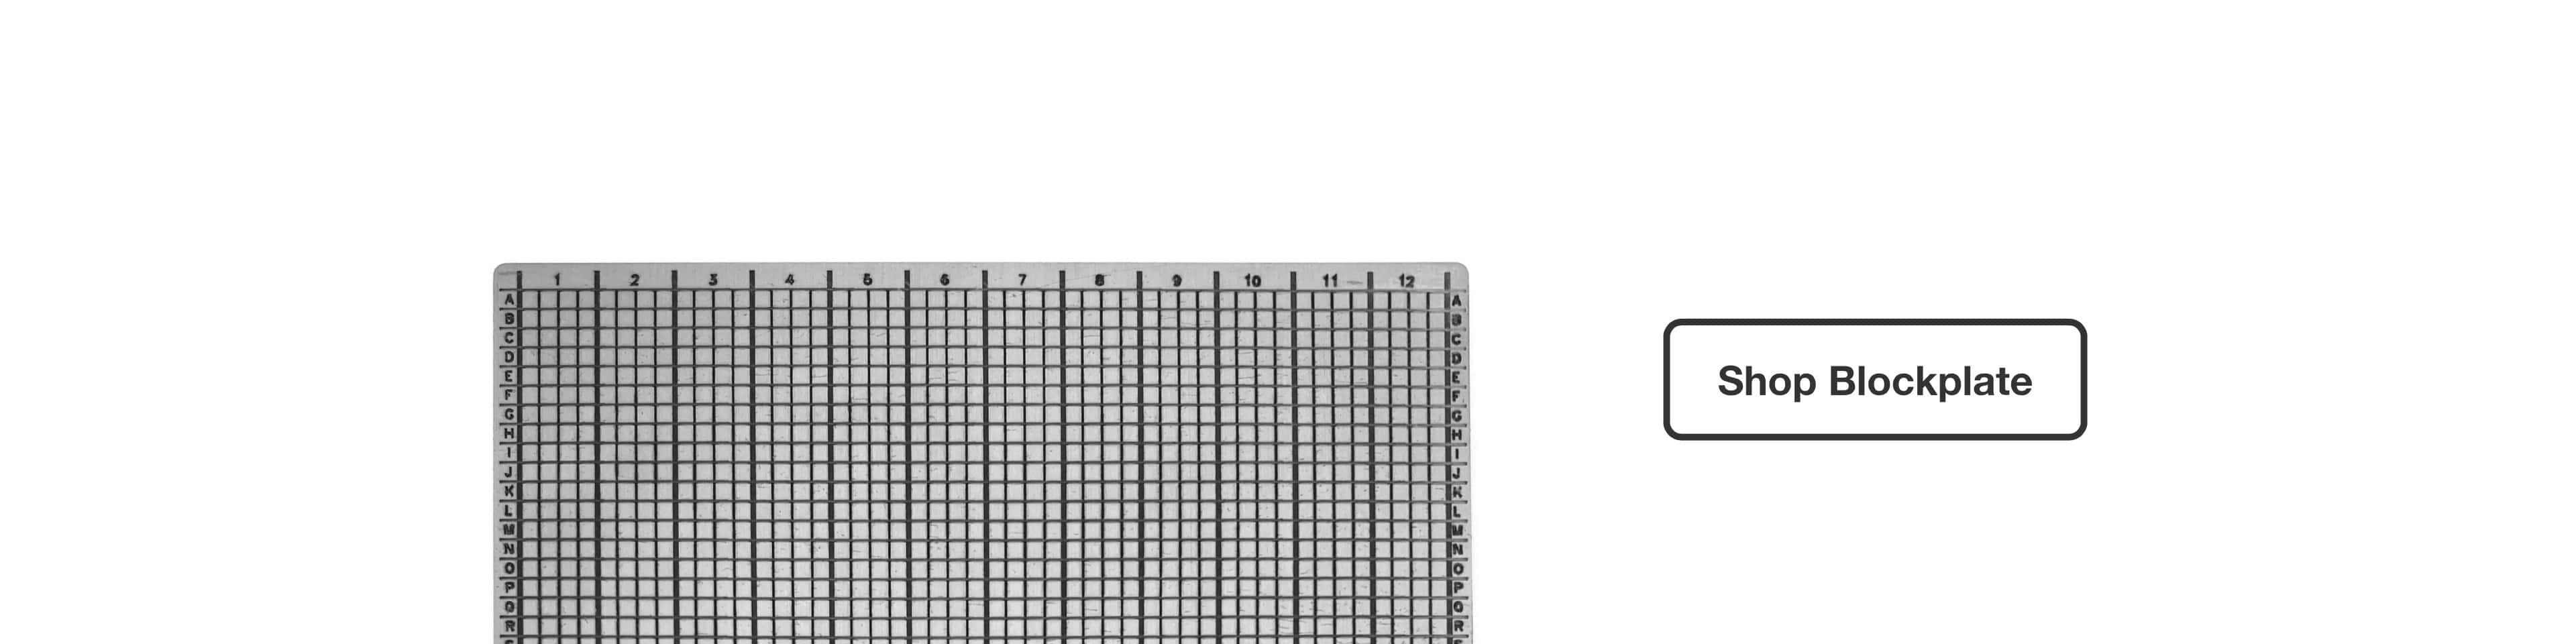
You don't need anything from us to make your own Blockplate. You can create your own center punch seed storage!
Disclaimer: The success of this method is very user dependent. As most methods, it requires foresight and careful planning to preserve the integrity of data for the long term. It is NOT a more secure method than traditional methods. We do not recommend this method over Blockplate. Use at your own risk.
Things You'll Need:
- A Printer
- Blockplate MAKE Print
- 8.5" x 11" Clear, Transparent Blank Sheets/Labels/Stickers
- Automatic Center Punch
- Scissors
- Tape
- Marker/Pen
- Sheet Metal (of your choice)
- At least 3.5" x 6" in dimension
- Around 1/8" Thickness
- Recommend Stainless Steel or Titanium
Step 1:
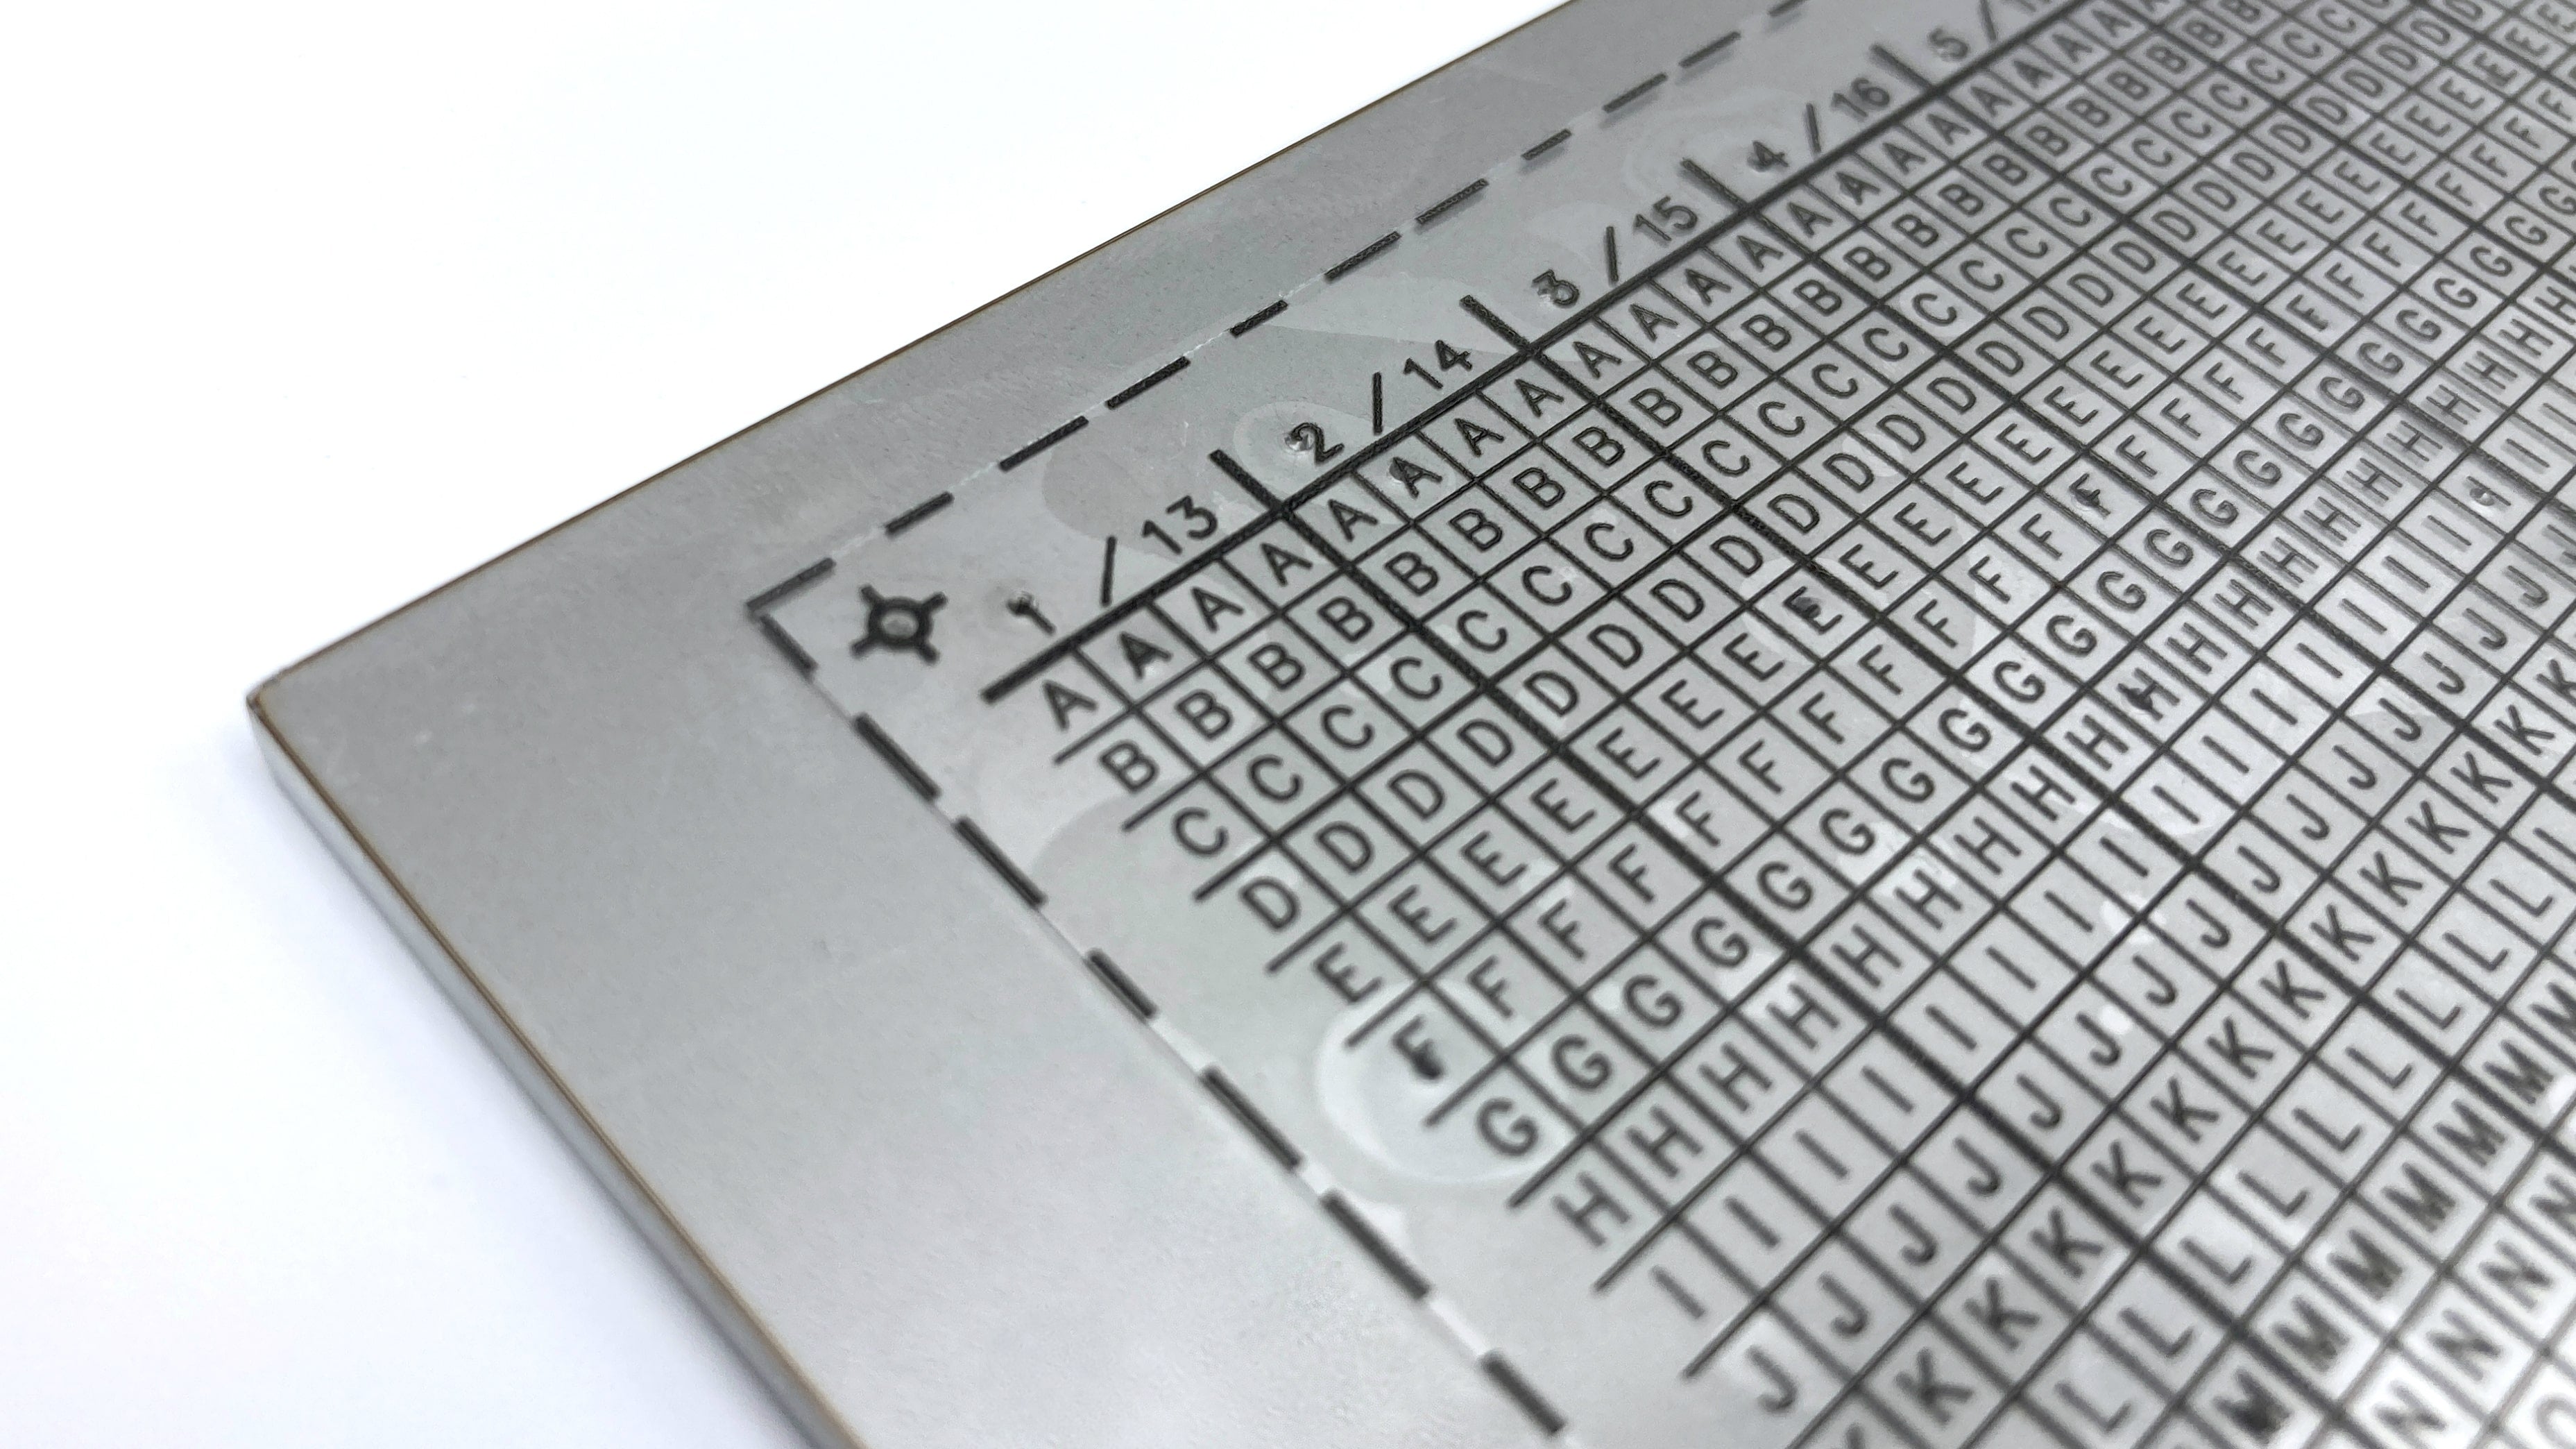
Print the Blockplate MAKE print on clear sheets/labels/stickers. Follow the manufacturer's printing instructions for the sheets/labels/stickers. Ensure the print scale is at 100%. No more, no less. Also, save this print file somewhere you will have long-term access to (email it to yourself, cloud storage, etc.)

Step 2:
Using your scissors, cut along the thicker, outer dashed line. You should have two cut-outs.

Step 3:
Place that cut-out on the surface of your metal plate.
Position the cut-out so the two calibration circles (at the top right and bottom left corner) are within the metal area.
If using a label/sticker, press and adhere the cut-out to the surface of the plate.
If using a sheet, securely tape the cut-out to the plate. The cut-out should not move easily.

Step 4:
With a marker, mark the boxes with the first 4 letters of each word in your seed phrase.
Place a small dot ( • ) in each box corresponding with the letters of each word.
Place another small dot ( • ) at the top edge corresponding with the numerical order of each word. (left side for 1-12, right side for 13-24)

Step 5:
Double check each letter and word.
Yes, this is so important that it is it's own step.

Step 6:
Using your automatic center punch, place the tip inside the top-left calibration circle and press down firmly until you hear an audible "click".
Repeat this at the the bottom-right calibration circle.
This will make a permanent indentation at these two locations and allow you to align and position the cut-out at the same location each and every time.

Step 7:
Again using the automatic center punch, place the tip at each marking.
Press down firmly until you hear an audible "click".
Again, this will make a physical and permanent indentation in each box.

Step 8:
Remove the cut-out and behold your seed inconspicuously stored on metal.

Step 9:
Repeat steps 3-8 on the back side for a 24-word seed.
Note: To read your seed, print out another copy and align the calibration circles with the top-left and the bottom-right punched hole. Remember to save the print file.